Mac Mail
Revision as of 15:23, 24 October 2011 by Netsville Support (talk | contribs)
The Main Steps
Here are some instructions and screen shots for setting up your mail under Mac OS X's Mac Mail.
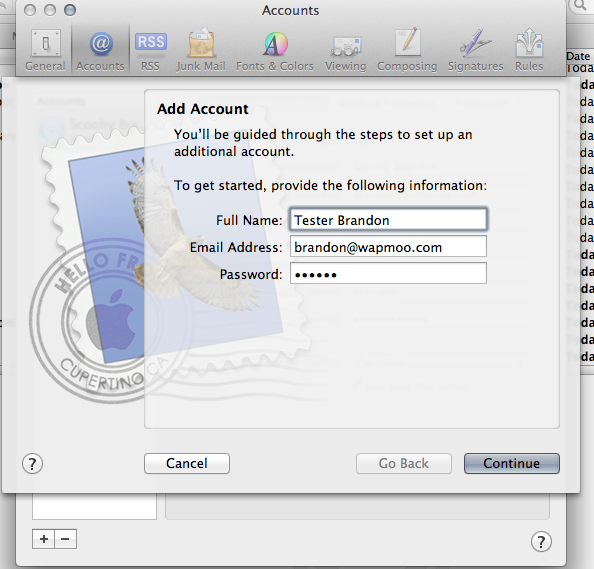
- From the menu choose Mail then Preferences... then click [+] to add an account.
- Type in your name, email address and password into the dialog and hit CONTINUE
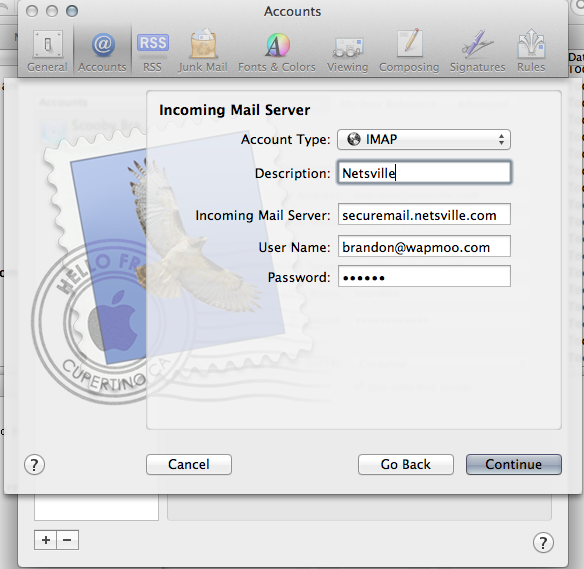
- Now choose Account Type. You can choose either POP or IMAP. We recommend IMAP.
- Description: Netsville Email
- Incoming Mail Server: securemail.netsville.com
- Username: user@example.com (your full email address, not just the user portion)
- Password: (may already be filled in)
- For Incoming Mail Security, check Use Secure Sockets Layer and Authentication Type of PASSWORD.
- For Outgoing Mail Server, type securemail.netsville.com. You must have Use Authentication checked and use the same User Name (your full email address!) and Password you did previously. It may already be filled out.
- This page is a summary showing your configuration. Make sure the email address and User Name are the same. And make sure the Incoming and Outgoing servers are both securemail.netsville.com. And finally, make sure SSL is on for both incoming and outgoing servers. Hit CREATE.


Other Config Screenshots
Here is the main Account Information page you get after your account has been created and you choose Mail -> Preferences... from the menu. If you have multiple accounts, they will be listed on the left. In this example, we have selected the information for the account created earlier in these instructions.
